Advanced DIY Designs

What follows are some advanced designs. Be aware, the addition of sensors such as GPS and environmental chips can quickly drive the cost of these radios in terms of not only money but also in terms of energy budget. While energy efficient, they can have drastically different energy budgets once you start adding additional sensors.
For example, the cost of a GPS module is ~$25, inflating the cost of the $37 radio by 67% to $62. However, this also takes a battery which had lasted nearly 30 days down to a runtime of just 7 days. Is that a reasonable trade-off? It depends on use-case and expectations.
Always consider your intended use-case and manage your costs and expectations in terms of performance, financial cost, and form-factor!
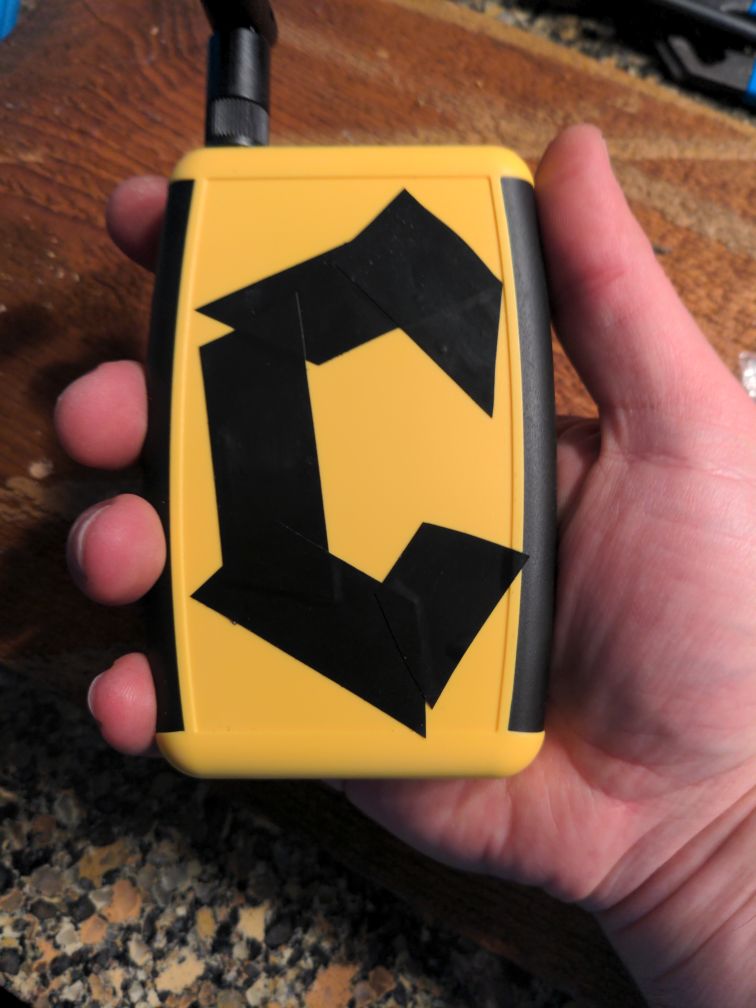
Upgraded Handheld Node

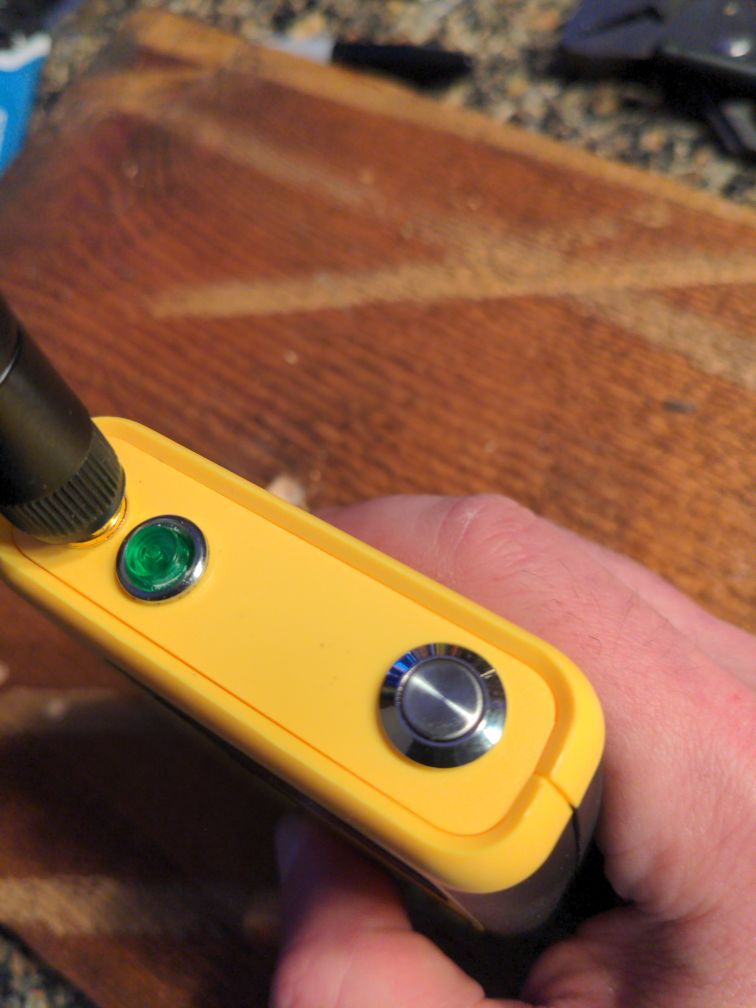
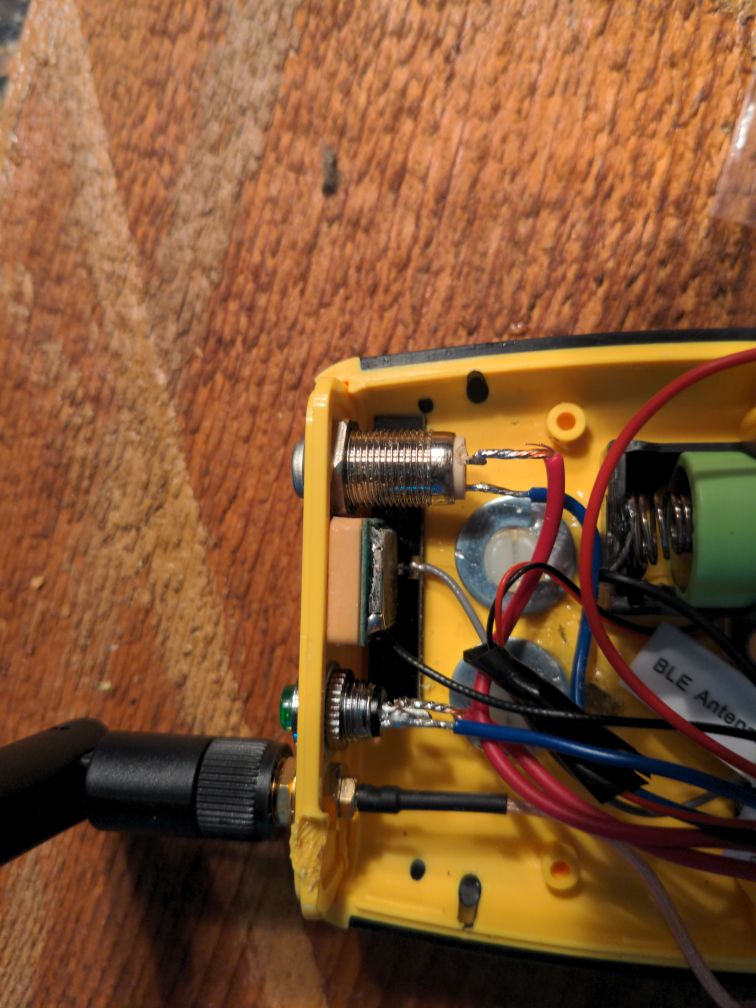
Unfortunately, the introduction of the RAK12500 GPS module severely impacted the power consumption. Adding an additional battery is impractical so I added a 10mm latching switch to toggle power delivery to the GPS module. To accomplish this just wire a latching switch connecting IO2 and GND on the RAK19700 base board.
Beware; this may have unintended consequence if additional modules are to be added beyond the RAK12500 GPS module. This design assumes the RAK12500 is the only add-on module, as other modules which rely on the IO2 pin would likely malfunction.
While I had the soldering iron hot, I also added a simple 8mm momentary switch between the AIN1 and GND pins on the RAK19700 base board. Once the switch is in-place, be sure to enter radio configuration, under device, change the user-button pin to 31 to enable the button.
Confirm it’s working by watching the noproto debug output which prints debug output for single and multi-clicks.
The timing of the multi-clicks can be a little tricky, without a screen to provide feedback. Per the source code, a single click is between 1-250ms.
The user button will:
- Single Click: Change the page of a screen if it were attached
- Double Click: Issue an Ad-Hoc NodeInfo ping to the mesh
- Triple Click: Toggle Power Delivery to GPS Radio
- Quad Click: On Nodes with E-Ink screen, force a screen refresh
- Long Click(5+ Seconds): Initiate Super Deep Sleep (Near Shutdown)
- Single Click, While Sleeping: Wake from Super Deep Sleep
Note, the RAK4631 probes for the GPS module at boot-up. If the unit boots or reboots for any reason with the GPS defeat switch engaged it will NOT re-initialize the GPS radio without a reboot!
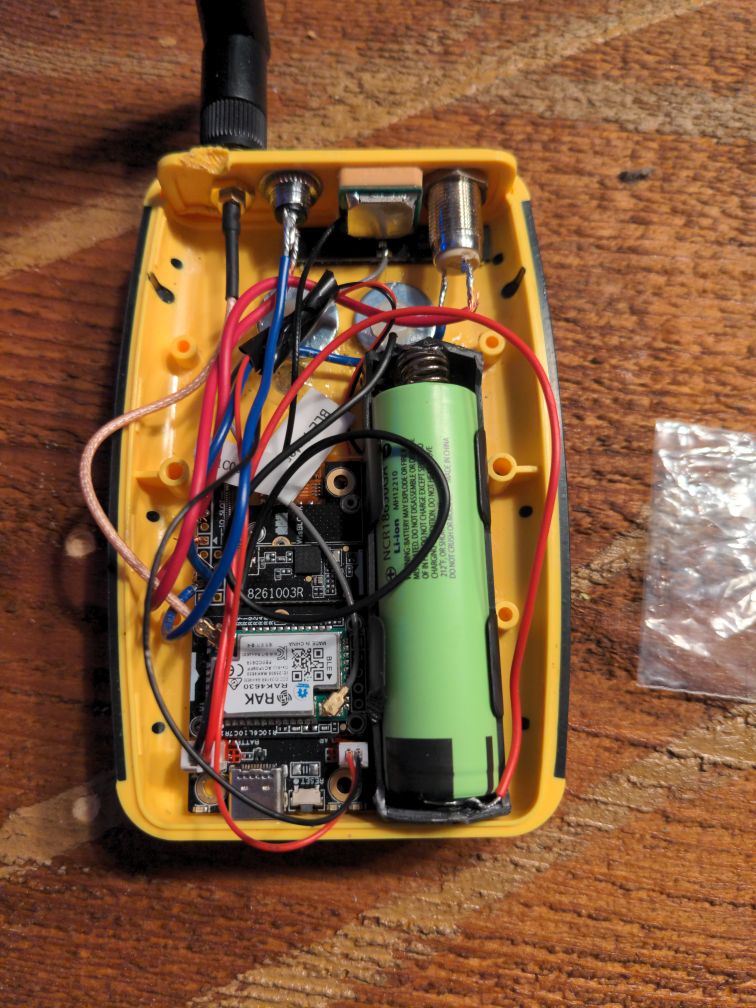
Lastly, I added a wireless charging coil so I shouldn’t ever need to open the case again for anything less than hardware maintenance. Just run a connector from the coil’s output to the solar charging input on the WizBlock.

- Rak Wireless Meshtastic Starter Kit: $37
- Rak 12500 GPS Module: $25
- 1/2 Wave Dipole Antenna: $12 (Note: RP-SMA!)
- Mini PCI to RP-SMA Pigtails(pk of 6): $14
- Handheld Enclosure 1553BYLBK: $10
- Enclosure Belt Clip: $3
- NCR18650GA 3450mAh 10A Battery(pk of 2): $12
- 18650 Battery Holder(pk of 10): $6
- Latching On/Off Switch - 10mm(pk of 3): $12
- Momentary Switch - 8mm(pk of 10): $8
- Wireless Charging Coil(pk of 2): $10
Total: ~$106
Once again, you can obtain some substantial cost savings through eBay, these prices are meant to represent worst-case real world prices as of May, 2024.
Given the cost and substantial drain to the battery system, I would not recommend the RAK12500 to a casual user. Any portable node is likely intended to be paired with a phone app, which provides GPS to the mesh accurately and without taxing the mesh radio’s budget. Still for the true standalone experience, there’s nothing wrong with it, just don’t expect it to work as well as a typical smart-phone GPS. In fact, for the purposes of using the range-test module, I would recommend always using your phone’s GPS for the sake of reliability.
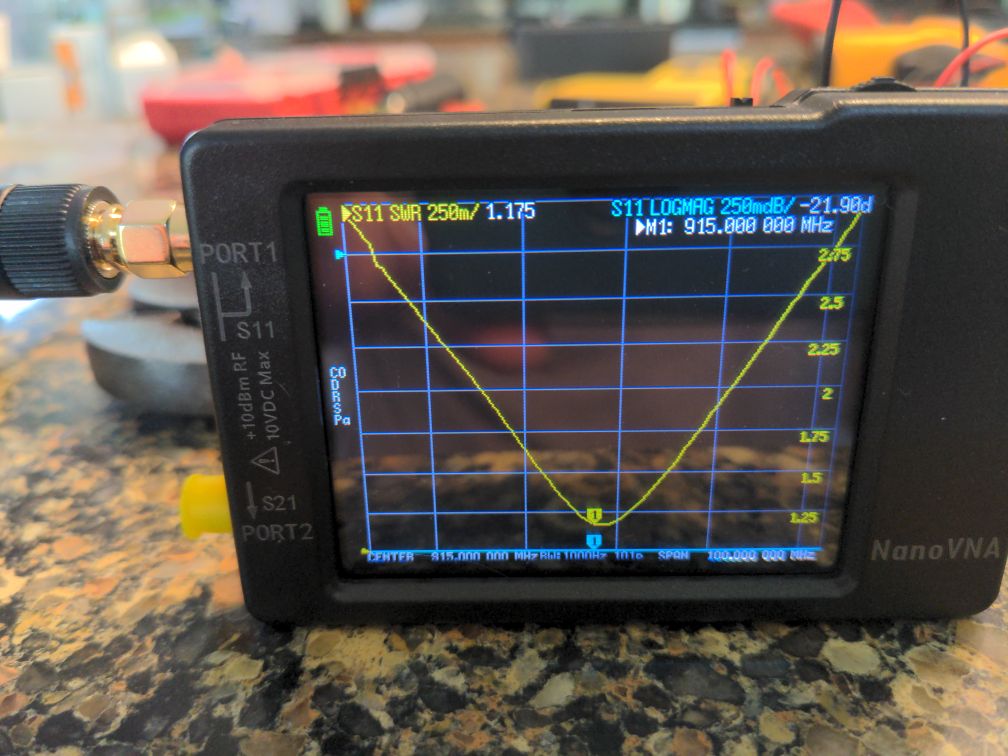
The linked antenna tested remarkably well-tuned. The data sheet specifies SWR < 2.0, but I consistently got SRW numbers as low as 1.15
I continue to look for something equally as perforative, but perhaps with a little more portable form-factor.
Let’s move on to Software
![]()